Objectives
Download and configure Android Studio. Generate and run a sample application.
Setup
Download and install the latest Android Studio (3.2 when this lab was updated last).
Indentation Levels
Run studio - and change the code settings to use tab size = 2, indent = 2 and continuation indent = 4 for Kotlin:

Do the same for XML, Groovy, Java and JSON.
New Project
Create an new Android project with the following key characteristics:
- Kotlin
- Single 'Blank' activity
Follow the structure and parameters outlined here:


Your project should look like this:

Run
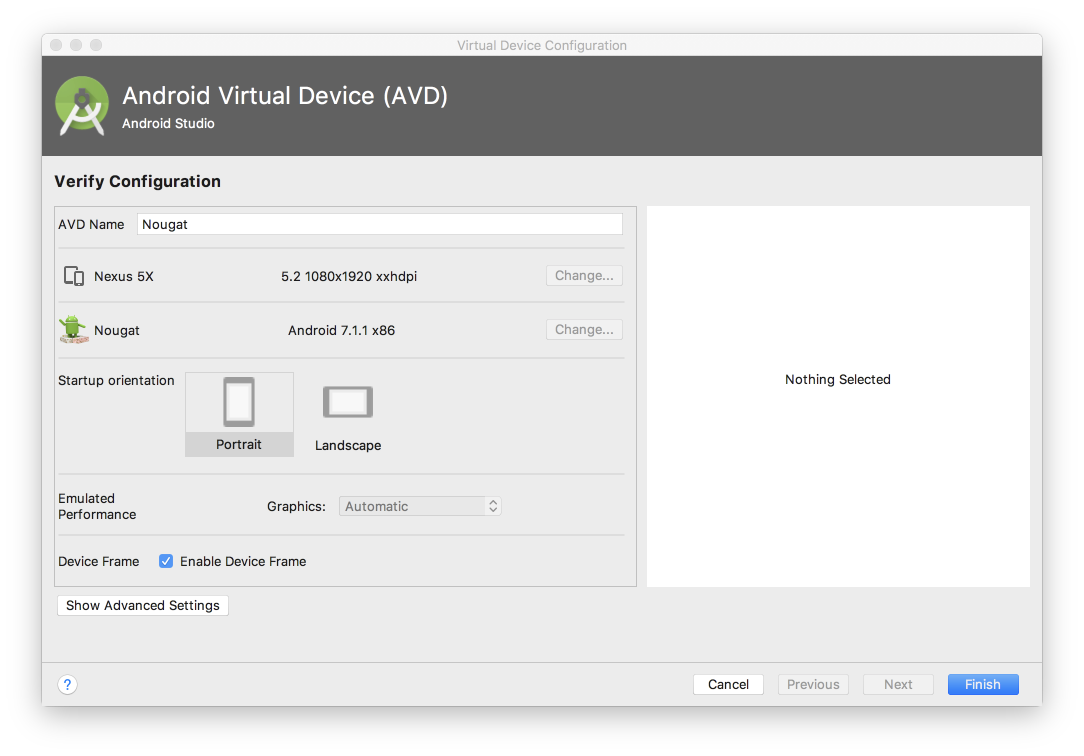
Make sure you can build and run the project. When you first attempt to run the app, you will be asked to create a Virtual Machine. You might create a VM configured like this:

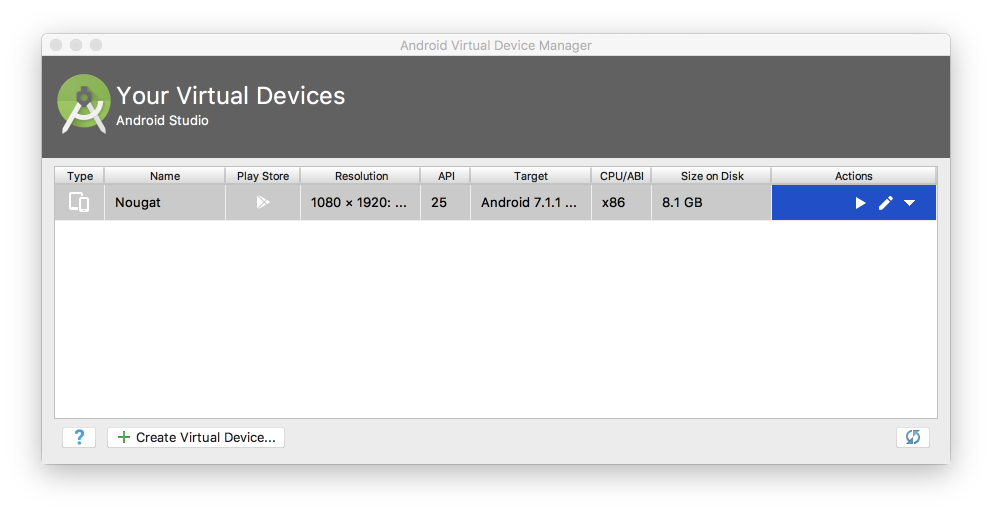
Which will appear in a list of VMs like this:

The version, size and resolution are a reasonable compromise.
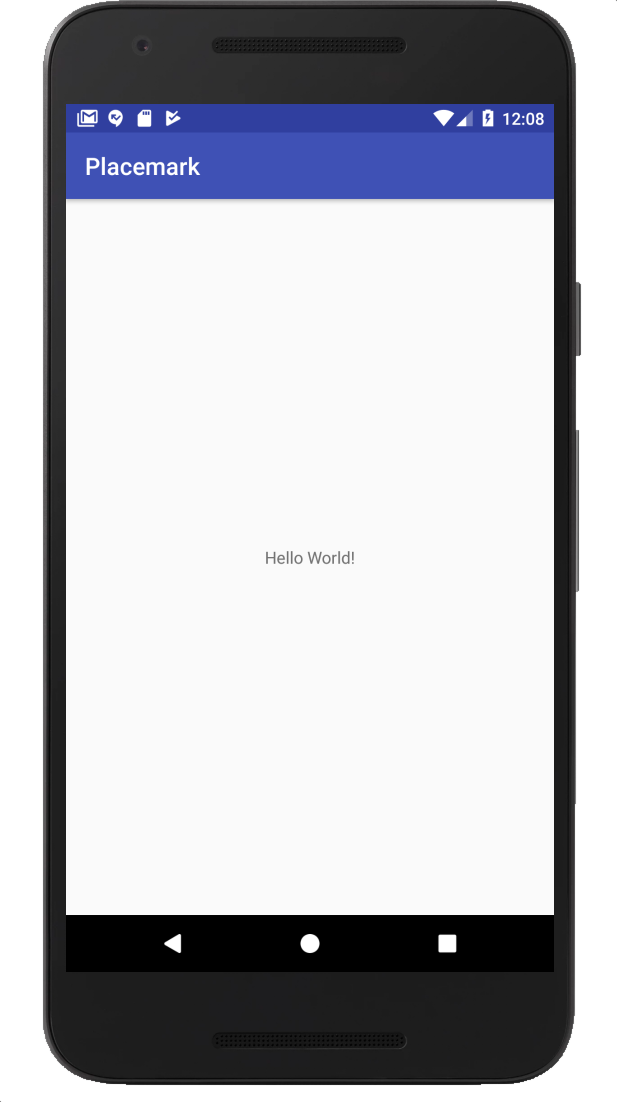
If it launches successfully, if should look like this in the VM:

.gitignore
If you are using git, you might want to make the following small adjustments to the generated .gitignore file:
*.iml
.gradle
/local.properties
/.idea
.DS_Store
/build
/captures
.externalNativeBuild
(we are excluding all .idea files)
If you are using git, it is a good idea to commit the project to a repository now.
Key Project Files & Resources
Although the project structure looks daunting, there are only a small number of source files to work with regularly:
Find each of these files now (there are presented here without filenames)
package org.wit.placemark

import android.support.v7.app.AppCompatActivity
import android.os.Bundle

class PlacemarkActivity : AppCompatActivity() {

  override fun onCreate(savedInstanceState: Bundle?) {
    super.onCreate(savedInstanceState)
    setContentView(R.layout.activity_placemark)
  }
}
<?xml version="1.0" encoding="utf-8"?>
<manifest xmlns:android="http://schemas.android.com/apk/res/android"
package="org.wit.placemark">
<application
android:allowBackup="true"
android:icon="@mipmap/ic_launcher"
android:label="@string/app_name"
android:roundIcon="@mipmap/ic_launcher_round"
android:supportsRtl="true"
android:theme="@style/AppTheme">
<activity android:name=".PlacemarkActivity">
<intent-filter>
<action android:name="android.intent.action.MAIN"/>
<category android:name="android.intent.category.LAUNCHER"/>
</intent-filter>
</activity>
</application>
</manifest>apply plugin: 'com.android.application'
apply plugin: 'kotlin-android'
apply plugin: 'kotlin-android-extensions'
android {
compileSdkVersion 28
defaultConfig {
applicationId "org.wit.placemark"
minSdkVersion 23
targetSdkVersion 28
versionCode 1
versionName "1.0"
testInstrumentationRunner "android.support.test.runner.AndroidJUnitRunner"
}
buildTypes {
release {
minifyEnabled false
proguardFiles getDefaultProguardFile('proguard-android.txt'), 'proguard-rules.pro'
}
}
}
dependencies {
implementation fileTree(dir: 'libs', include: ['*.jar'])
implementation "org.jetbrains.kotlin:kotlin-stdlib-jdk7:$kotlin_version"
implementation 'com.android.support:appcompat-v7:28.0.0'
implementation 'com.android.support.constraint:constraint-layout:1.1.3'
testImplementation 'junit:junit:4.12'
androidTestImplementation 'com.android.support.test:runner:1.0.2'
androidTestImplementation 'com.android.support.test.espresso:espresso-core:3.0.2'
}<?xml version="1.0" encoding="utf-8"?>
<android.support.constraint.ConstraintLayout
xmlns:android="http://schemas.android.com/apk/res/android"
xmlns:app="http://schemas.android.com/apk/res-auto"
xmlns:tools="http://schemas.android.com/tools"
android:layout_width="match_parent"
android:layout_height="match_parent"
tools:context="org.wit.placemark.PlacemarkActivity">
<TextView
android:layout_width="wrap_content"
android:layout_height="wrap_content"
android:text="Hello World!"
app:layout_constraintBottom_toBottomOf="parent"
app:layout_constraintLeft_toLeftOf="parent"
app:layout_constraintRight_toRightOf="parent"
app:layout_constraintTop_toTopOf="parent"/>
</android.support.constraint.ConstraintLayout><resources>
<string name="app_name">Placemark</string>
</resources><resources>
<!-- Base application theme. -->
<style name="AppTheme" parent="Theme.AppCompat.Light.DarkActionBar">
<!-- Customize your theme here. -->
<item name="colorPrimary">@color/colorPrimary</item>
<item name="colorPrimaryDark">@color/colorPrimaryDark</item>
<item name="colorAccent">@color/colorAccent</item>
</style>
</resources>The files are (in order of appearence)
- app/src/main/java/org/wit/placemark/PlacemarkActivity.kt
- app/src/main/AndroidManifest.xml
- app/build.gradle
- app/src/main/res/layout/activity_placemark.xml
- app/src/main/res/values/strings.xml
- app/src/main/res/values/styles.xml
Locate all of these files in the Android Studio 'Android' perspective:

and in the 'Project' perspective:

and using Finder/Explorer:

As you gain experience in android - the role and purpose of each of these files will become clearer.
Logging Event Handling in Kotlin
We are going to be working exclusively in Kotlin - not Java. This affords considerable improvements, largely around conciseness and expressiveness of code.
Logging
To prepare for this, include this additional dependency in our gradle.build:
gradle.build
implementation 'org.jetbrains.anko:anko-commons:0.10.7'Your dependencies section will look like this now:
dependencies {
  implementation fileTree(dir: 'libs', include: ['*.jar'])
  implementation "org.jetbrains.kotlin:kotlin-stdlib-jdk7:$kotlin_version"
  implementation 'com.android.support:appcompat-v7:28.0.0'
  implementation 'com.android.support.constraint:constraint-layout:1.1.3'
  implementation 'org.jetbrains.anko:anko-commons:0.10.7'
  testImplementation 'junit:junit:4.12'
  androidTestImplementation 'com.android.support.test:runner:1.0.2'
  androidTestImplementation 'com.android.support.test.espresso:espresso-core:3.0.2'
}
This library is documented here:
We will be progressively introducing some of its features as we evolve the application.
The first feature is a simple way of logging:
Change the class to include the 'AnkoLogger' feature:
PlacemarkActivity
..
class PlacemarkActivity : AppCompatActivity(), AnkoLogger {
...
When you make this change, AnkoLogger will not be recognised - so you will need to import it. This can be triggered automatically (if you can figure this out). The correct import statement is:
import org.jetbrains.anko.AnkoLoggerThen, in our onCreate() method, try it out:
...
    info("Placemark Activity started..")
...
Again, this will require an import - which will be this:
import org.jetbrains.anko.infoTry to figure out the key strokes required to generate this...
Now, make sure you can run the app and see this log in the 'Logcat' view in Studio:

Do not proceed further until you can locate something like the above in Logcat. The logss are a bit noisy, and may contain what look like errors. However, buried in there should be your message.
This style of logging is discussed here:
Solution
Placemark application so far:
Exercise 1:
Learn how to :
- terminate the currently executing version of the app on the emulator
- completely remove the application from the emulator, and install it again
Exercise 2:
If you have am android phone, plug it in and see if you can execute the application on the device. It should just be a matter of plugging it into your workstation - and it should appear as another device alongside the emulator device.
Exercise 3:
Download, extract and run the archive/sample solution above.