Objectives
Sign up and configure a Cloudinary Account.
Signup
Visit this site:
and and sign up for a free account - on the free plan. Be sure to verify your email address, as your account will be suspended if it is not confirmed within a day or so.
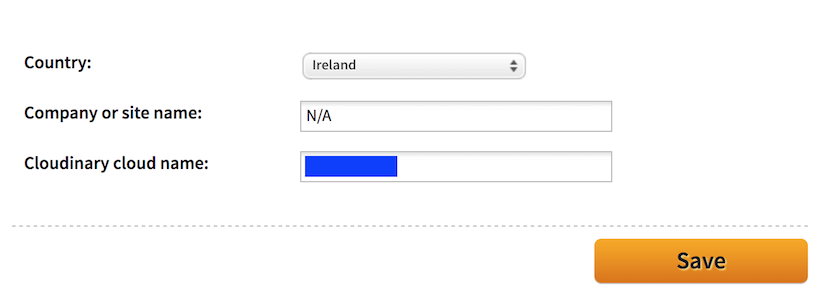
During sign up, you will be offered a 'Cloudinary cloud name' - you can accept the default one or try to claim one.
When you are logged in visit the 'Settings' screen. You Cloudinary name will be viable on the 'Account' screen:
On the 'Security' panel, scroll the end and take note of the `Access Keys' (blacked out here):

The `API Secret' normally displays as asterisks. If you click on them, the actual code will be revealed.
.env.json
From the settings explored on the last step, capture them in a file as follows:
.env.json
{
  "cloudinary": {
    "cloud_name": "YOURID",
    "api_key": "YOURKEY",
    "api_secret": "YOURSECRET"
  }
}
Keep this file safe, and dont share it with anyone. Also, do not put it on github or any public repository.
Exploring Cloudinary
Visit the Media Library page:
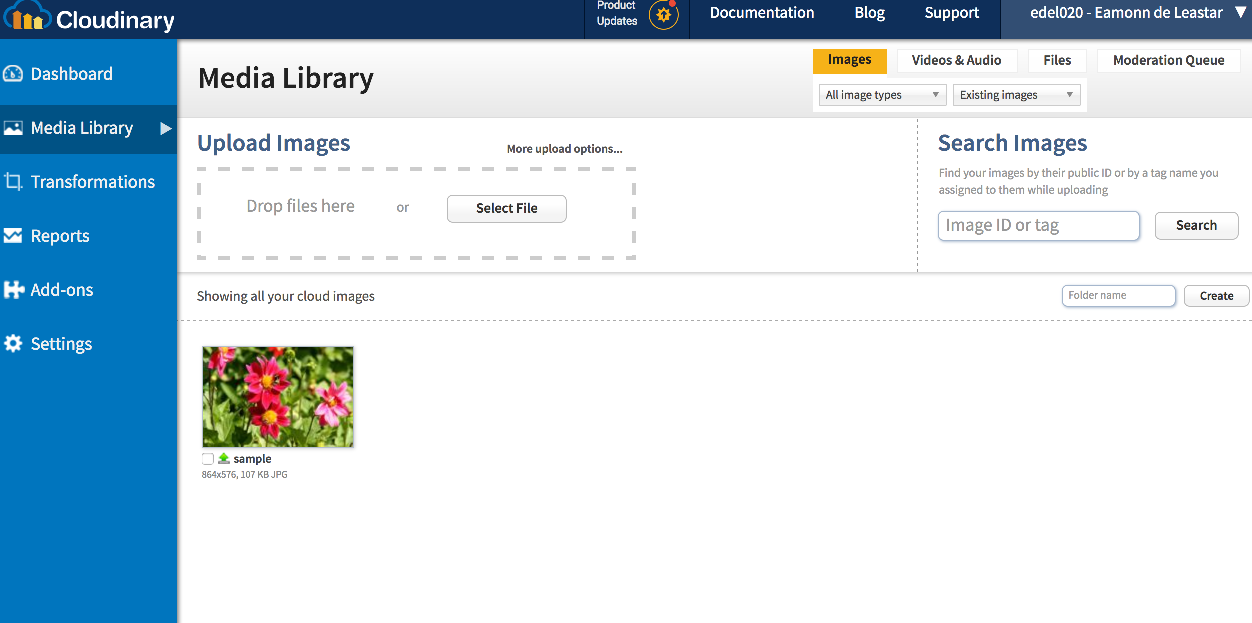
Experiment with uploading a picture by draging and dropping an image to the upload area.
Once uploaded, double click on the image and look at the various options:
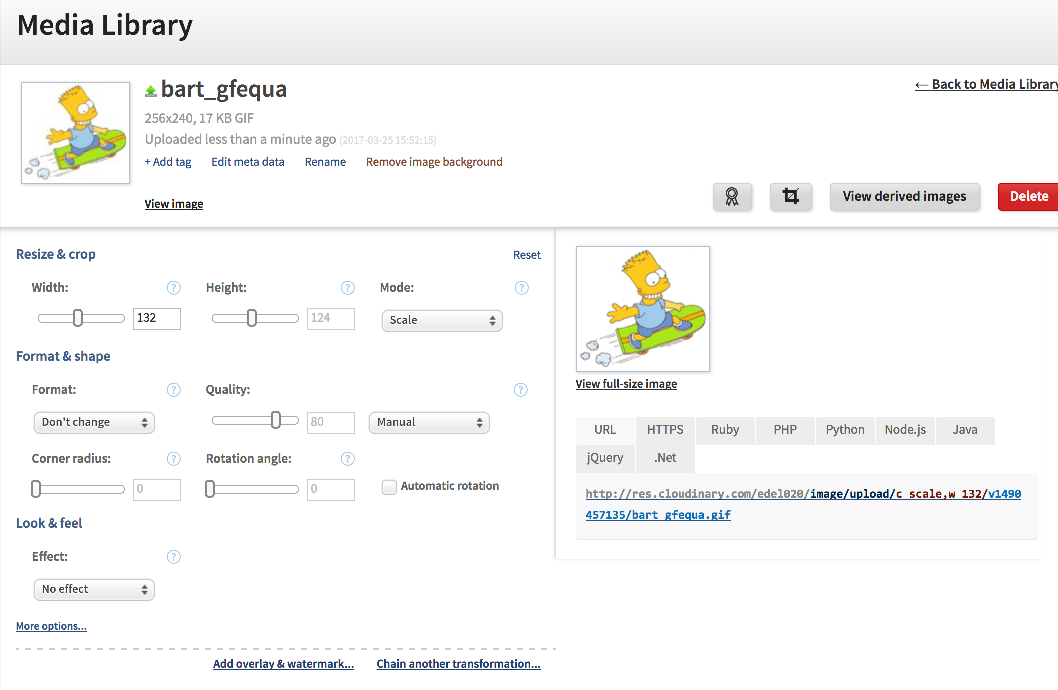
Note the url on the bottom right - this is a public url for the uploaded image. If you click on it, it will load. You can share this link publicly.
Exercises
Have a look around some of the other features of the site - particularly the 'Reports' and 'Transformations'. Then proceed to the next lab, which will explore the Cloudinary API.